Mipa silicone remover and Mipa silicone remover spray remove wax, grease and silicone before sanding, filling, primer or coating work starts.
Plastic bumper repair
A scraped painted bumper needs clean plastic, flexible shaping, controlled sanding, plastic primer filler and a clearcoat that protects the matched colour coat. This guide explains how the cleaner, filler, primer filler and clearcoat stages work together for a neat local repair.
Mipa silicone remover and Mipa silicone remover spray remove wax, grease and silicone before sanding, filling, primer or coating work starts.
Mipa P 35 Elastic fills scraped bumper contours and stays suitable for overpaintable plastic parts that need a flexible repair layer.
MP Sanding Sponge follows bumper curves without cutting hard edges, while Mipa Control Spray reveals low spots, pinholes and sanding marks before primer.
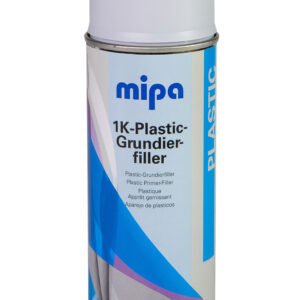
Mipa 1K Plastic Primer Filler Spray and the 1l version help fill fine sanding marks and create a paint ready base on common automotive plastics.
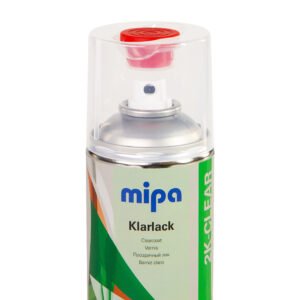
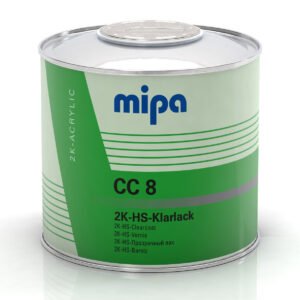
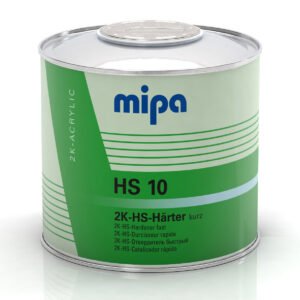
Mipa 2K Clearcoat Spray suits smaller clear-over-base repairs, while Mipa 2K-HS Clearcoat CC 8 with HS 10 hardener suits spray-gun finishing on larger or repeated jobs.
Remove wax, silicone and road film so the abrasive, filler and primer work on clean plastic instead of contamination.
Feather the damaged edge, apply flexible filler only where the scrape needs levelling, then sand the contour back into the bumper shape.
Use control spray over the filled area and sand until the guide coat shows an even repair without low spots or pinholes.
Apply plastic primer filler, refine the primer surface and apply the matched colour coat over the repaired zone.
Finish with 2K clearcoat, then allow the clear layer to cure before washing or loading the bumper surface.
The spray formats suit small local bumper scrapes, spot repairs and repairs where a spray gun is not practical.
The 1l primer filler and CC 8 clearcoat method suits larger bumper areas, repeated work and paintshop use with the correct gun setup.
Keep the repair area slightly wider than the visible scrape so the filled edge, primer edge and clearcoat blend have enough room to level cleanly.

© 2026 All Rights Reserved.
Start with the item. The job page shows what to use and in which order.