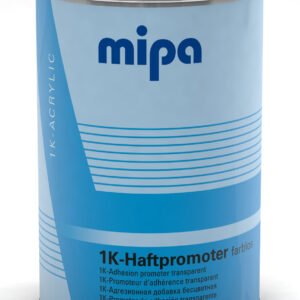
Mipa silicone remover in liquid or aerosol format removes wax, grease and silicone before sanding, adhesion promoter or coating.
Camper trim and roof edge coating
Camper roof edges, trims and exterior details often combine old paint, shaped edges and adhesion-sensitive surfaces. This guide explains cleaning, keying, adhesion promoter, colour and clearcoat roles for a controlled refinish around exterior details.
Mipa silicone remover in liquid or aerosol format removes wax, grease and silicone before sanding, adhesion promoter or coating.
MP Soft Pad Fine helps dull stable roof edges, trims and exterior detail surfaces without over-cutting shaped edges.
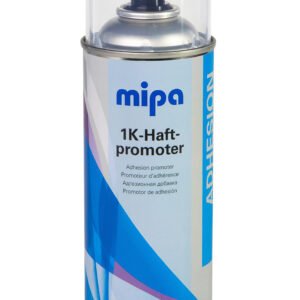
Mipa 1K Adhesion Promoter in aerosol or liquid format supports adhesion on suitable prepared plastic or difficult trim surfaces before the colour stage.
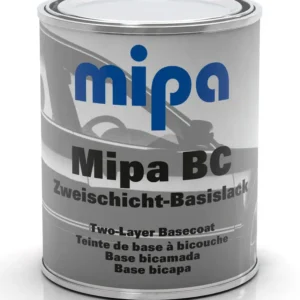
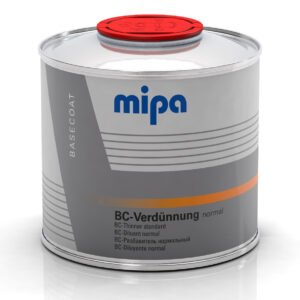
Mipa BC Ready Mixed Two-Layer Basecoat creates the colour layer for prepared exterior details and is used with Mipa BC Thinner VDG where required by the system.
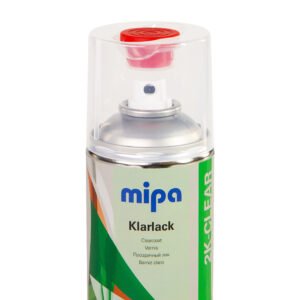
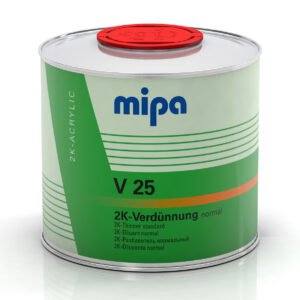
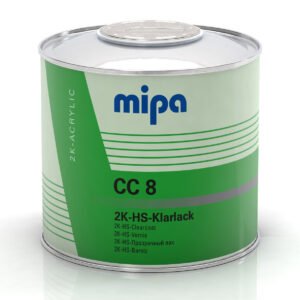
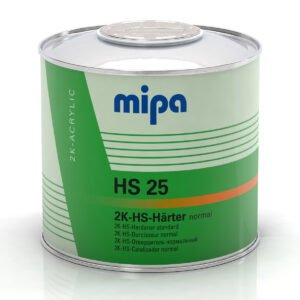
Mipa 2K Clearcoat Spray high gloss suits smaller detail work, while Mipa 2K-HS Clearcoat CC 8 with HS 25 hardener and 2K thinner suits the liquid clearcoat method.
Remove wax, grease and silicone around roof edges, trim returns and shaped details before sanding.
Use the soft pad to dull stable old coating and give the adhesion stage a clean surface.
Use Mipa 1K Adhesion Promoter on suitable prepared trim or difficult surfaces before the colour coat.
Apply the BC basecoat colour, then protect it with the spray clearcoat or CC 8 clearcoat method chosen for the job size.
Use the aerosol adhesion promoter and 2K clearcoat spray for smaller roof-edge details, trims and local exterior parts.
Use liquid adhesion promoter and CC 8 clearcoat where a larger exterior detail area needs spray-gun application.
Trim and roof-edge work is easiest when masking is planned first. Protect seals, awning parts, roof hardware and textured plastic areas before sanding or spraying.
© 2026 All Rights Reserved.
Start with the item. The job page shows what to use and in which order.