Mipa silicone remover in liquid format and Mipa silicone remover spray remove wax, grease and silicone before sanding or coating. Clean again after sanding so dust and fingerprints do not sit under the new finish.
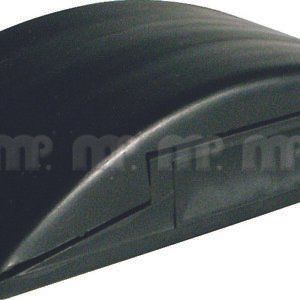
Guided Shopping · repaired car panel
A repaired car body panel needs more than colour. The repair area must be shaped, checked, primed, sanded and then finished with matched basecoat and clearcoat so the old damage does not print through the gloss.
Mipa silicone remover in liquid format and Mipa silicone remover spray remove wax, grease and silicone before sanding or coating. Clean again after sanding so dust and fingerprints do not sit under the new finish.
Mipa P 99 Multi Star fills and finishes metal repair areas before primer. It is useful when one repaired panel needs a level surface rather than only a scuffed existing finish.
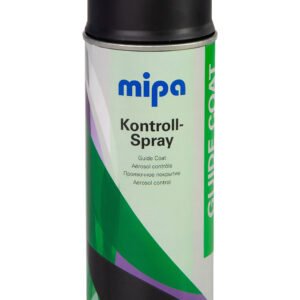
MP ColourCheck Spray helps assess the colour and finish before the final clearcoat decision. Mipa Control Spray helps reveal sanding marks and low spots while the surface is still easy to correct.
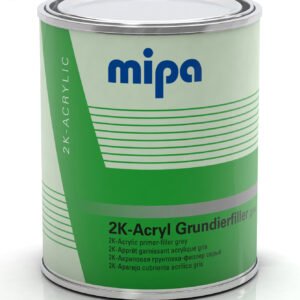
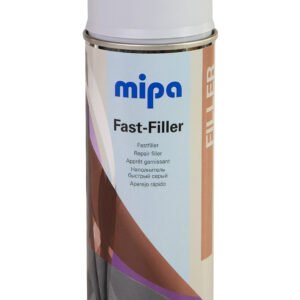
Mipa 2K Acrylic Primer Filler and Mipa Fast Filler Spray build a sandable base over repaired or keyed areas. They help level small scratches and sanding marks before the colour layer.
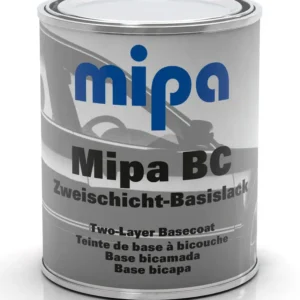
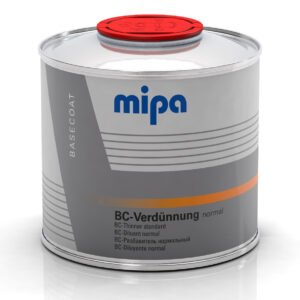
Mipa BC Ready Mixed Two Layer Basecoat creates the matched colour layer on the prepared panel, while Mipa BC Thinner VDG supports the spray viscosity required by the BC system.
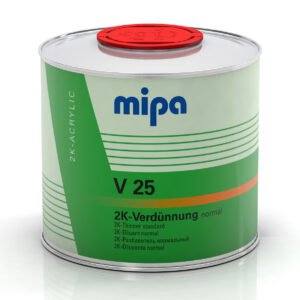
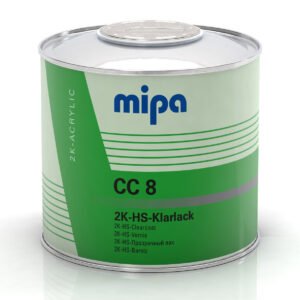
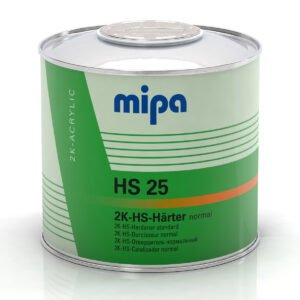
Mipa 2K HS Clearcoat CC 8, Mipa 2K HS Hardener HS 25 normal and Mipa 2K Thinner Normal V 25 form the gloss and protection layer after the basecoat has flashed.
The MP sanding block keeps hand pressure even across the repair area, panel edge and primer surface. A flat block helps avoid waves that become more visible after gloss clearcoat.
Remove wax, grease, dust and loose contamination from the repaired panel. Check whether the existing coating is sound enough to sand, or whether deeper repair work is needed first.
Apply the correct filler only where the panel needs shape correction, then sand with a block so the repair feathers into the surrounding paint without a hard edge.
Key the surface evenly and remove sanding dust before coating. Use guide or colour checking where it helps reveal scratches, low spots or uneven preparation.
Apply the suitable primer or primer filler for the exposed substrate and repair depth, then sand the dried primer until the surface is smooth enough for colour.
Apply the matched colour in controlled coats over the prepared base. Keep the repair edge soft so the new colour can visually blend with the surrounding finish.
Apply the compatible clearcoat system after the colour layer has flashed. Let the coating cure before polishing or putting the panel back into normal use.
Use Mipa P 99 Multi Star only where the panel needs shape correction, then isolate the repaired area with primer filler before colour.
Use the 2K acrylic primer filler for stronger repaired areas and the Fast Filler Spray for smaller sanded zones where aerosol application is more practical.
Spend the most time on sanding and checking before colour. A glossy clearcoat will make small waves, pinholes and sanding scratches easier to see.
© 2026 All Rights Reserved.
Start with the item. The job page shows what to use and in which order.