Mipa silicone remover liquid or spray removes grease and residue after normal dust removal. Use it before primer so sanding dust and hand oils do not sit under the coating.
Guided shopping for 3D printed plastic parts
3D printed plastic parts often show layer lines, support marks and small surface defects before paint. A good finish comes from cleaning, controlled sanding, primer filler where needed and a plastic coating choice that suits the print material and the way the part will be handled.
Mipa silicone remover liquid or spray removes grease and residue after normal dust removal. Use it before primer so sanding dust and hand oils do not sit under the coating.
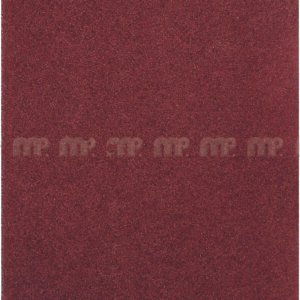
MP Non-woven Sanding Pad Very Fine red helps key curved prints, small housings and detailed surfaces without flattening every shape aggressively.
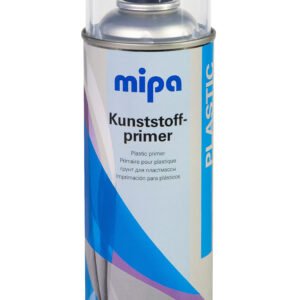
Mipa 1K Plastic Primer supports adhesion on many rigid plastics and is used when the prepared print needs a dedicated bonding layer before colour.
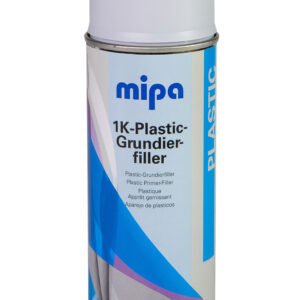
Mipa 1K Plastic Primer Filler in spray or 1l format helps reduce layer lines, shallow scratches and small print texture before the final finish.
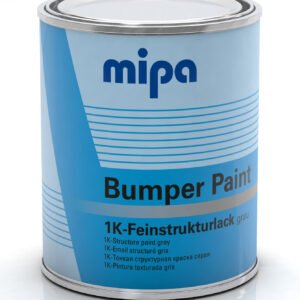
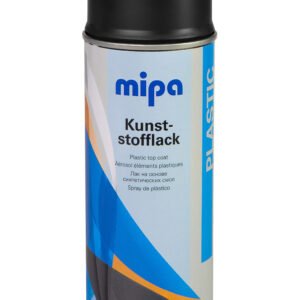
Mipa Plastic Paint Spray creates a matt plastic colour finish, while Mipa Bumper Paint Spray or Mipa Bumper Paint 1l creates a textured grey or black plastic effect.
Cut away supports, smooth sharp support marks and remove loose strands before any coating work starts.
Sand layer lines to the required smoothness, then remove dust. Use Mipa silicone remover after dust removal so contamination does not remain under primer.
Use Mipa 1K Plastic Primer on suitable prepared plastic when an adhesion layer is needed before the filler or finish.
Apply Mipa 1K Plastic Primer Filler to reduce layer lines and small surface marks. Sand again after drying until the surface is even enough for colour.
Apply plastic paint or textured finish in thin coats. Let the part cure before assembly, handling or installing screws into printed holes.
Use primer filler and careful sanding when the print will be viewed close up and layer lines would distract from the finished piece.
Use a light coating build around screw holes, clips and mating faces so the printed part still assembles after painting.
Use a textured bumper style finish when the part can accept a structured look that helps disguise minor layer texture.
Print or keep a small test coupon in the same material and finish it first. A test piece shows sanding depth, primer build and colour appearance before the real printed part is coated.


© 2026 All Rights Reserved.
Start with the item. The job page shows what to use and in which order.